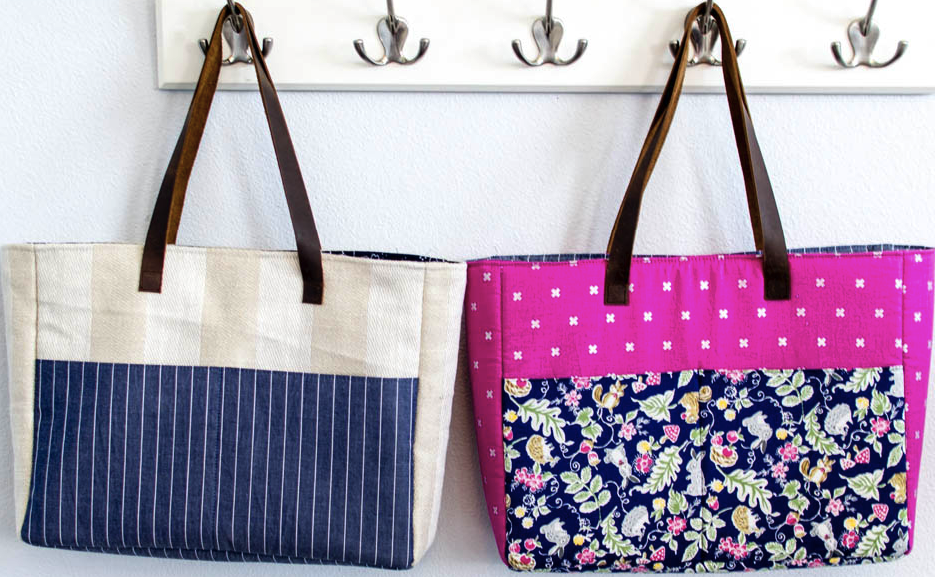
How to Make a Tote Bag
Custom tote bags will undoubtedly help you make a fashion statement while helping protect the environment. But at times, getting a custom tote bag of your dreams is difficult. So how about making one yourself from scratch. Sure the project will take some time to complete especially if you are keen on the details but it is simple. Anyone with beginner sewing skills can pull it off.
What you need:
- ½ yard of cotton fabric
- ½ yard of cotton fabric to use as the inner lining
- ½ yard of interfacing
- Canvas strap (42”)
- Rotary cutter
- Iron
- Thread
- Sewing machine
Cut the fabrics
The first step in this project is cutting the fabrics (interfacing, outer and inner fabric) into rectangles measuring 18”x14”. Then cut two canvas straps measuring 21”.
Cut corners
No, we don’t mean you take shortcuts in the project. Instead, we mean that you snip the corners along the long sides of the rectangle. Cut squares measuring 2”x2” from the bottom sides. Repeat the same step for the interfacing. The side you cut will be the base of your tote.
Add the interfacing and sew the sides
At this point, we should mention that there is a wrong side and a right side of every fabric. For this step, you will press your interfacing to the wrong side of the outer fabric.
As you do this, be sure to follow the directions outlined by the manufacturer for heating as well as adhering the interfacing.
Next, pin the outer right sides of the fabrics and then sew 1/2 “seams along the bottom and side of the tote. Remember to leave the snipped corners open.
Make the corners
Pinch the gaps in the snipped corners together and line up the bottom and side seams to the centre. Pin across and them sew a 1/2 “seam. Doing this will add depth to your tote bag as well as give it a flat bottom.
Sew the corners and the liner sides
Pin the sides of the liner (inner fabric) and repeat the seaming steps above.
Put the fabrics together and pin
Flip the inner fabric right-side out and then place it inside the outer fabric such that the right sides touch each other. Tuck the canvas straps between the outer and inner fabrics so that two edges of one of the straps face front and the other two face the back of the tote.
Pin the straps four inches from the side seams and then use a pin to bind the perimeter of the tote.
Sew the opening
Start from the side seam. Stitch a neat ½” seam around you tote making sure that you stop 4” before you reach the starting point. This seam should hold all four sides of the straps but leave enough room to turn.
Turn and then press
Pull the fabrics and the straps through the 4-inch gap and turn your bag the right-side out. Then use a warm iron to get rid of the wrinkles.
Top-Stitch and the finish
Finish the edges with a top-stitch. This stitch will reinforce the straps and close the gap that was left in the previous step.


